In this blog post I’ll show how easy it is to provision Microsoft Teams teams using Microsoft Lists and Power Automate. Creating a Teams team is super simple from the Teams client, this post is not intended to replace that functionality, rather this has been developed with a PMO (project management office) team managing multiple projects from a centralized List in mind.
Our demo list, called Projects, has the following schema:
| Column name | Column type |
| Title | Title used to store the project name. |
| Description | Single line of text used to store the project description. |
| Visibility | Choice with the following options: “Private” and “Public”. Indicates if a team should visible to non-team members. |
| Owners | Person or Group with Allow multiple selections enabled. |
| Members | Person or Group with Allow multiple selections enabled. |
| Link | URL used to store the web link to the newly created Teams team. |

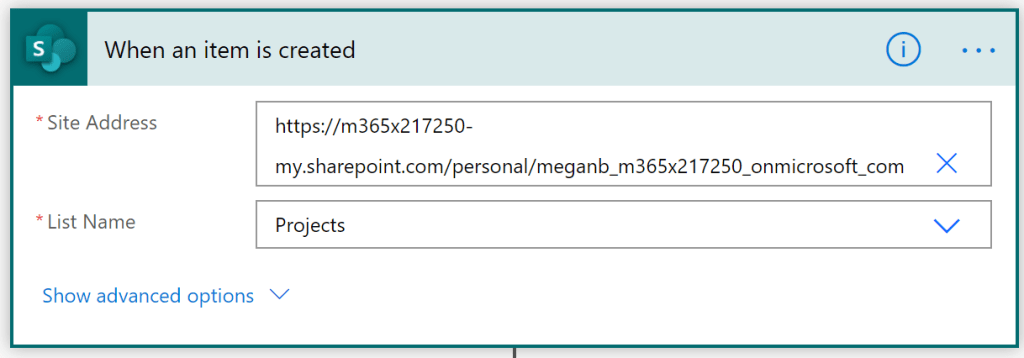
Create a new Flow from the Projects list > Automate > Power Automate > See your Flows > Create new > Automated from blank. Provide a Flow name, i.e. “Teams provisioning”, select the SharePoint “When an item is created” trigger and click “Create”.

Set the “Site Address” and “List Name” to your target site and list.
Insert a new Microsoft Teams “Create a team” step. Set:
- “Team Name” to “Title”
- “Description” to “Description”
- “Visibility” to “Visibility Value”

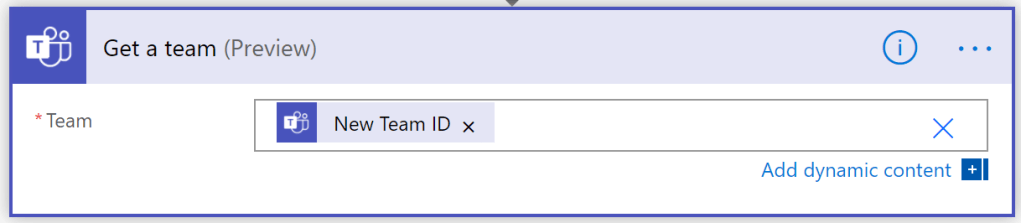
Insert a new Microsoft Teams “Get a team” step. Set “Team” to “New Team ID” from the Create a team action.
Insert a new Microsoft Teams “Add a member to a team” step – this is for Owners. Set:
- “Team” to “Team ID” from the Get a team step
- “A AAD ID for the user to add to a team” to “Owners Email”
- “Should the newly added user be an owner of the” to “Yes”

Power Automate will place the “Add a member to a team” step into a “Apply to each” loop because the “Owners” column can store multiple selections.
Insert another new Microsoft Teams “Add a member to a team” step – this is for Members. Set:
- “Team” to “Team ID” from the Get a team step
- “A AAD ID for the user to add to a team” to “Members Email”
- “Should the newly added user be an owner of the” to “No”

Insert a new SharePoint “Update item” step. Set:
- “Site Address” and “List Name” to your target site and list
- “Id” to “ID” from the “When an item is created” step
- “Title” to “Title” from the “When an item is created” step
- “Visibility Value” to “Visibility Value” from the “When an item is created” step
- “Link” to “Web Url of team” from the “Get a team” step

My completed Flow looks like the image below.

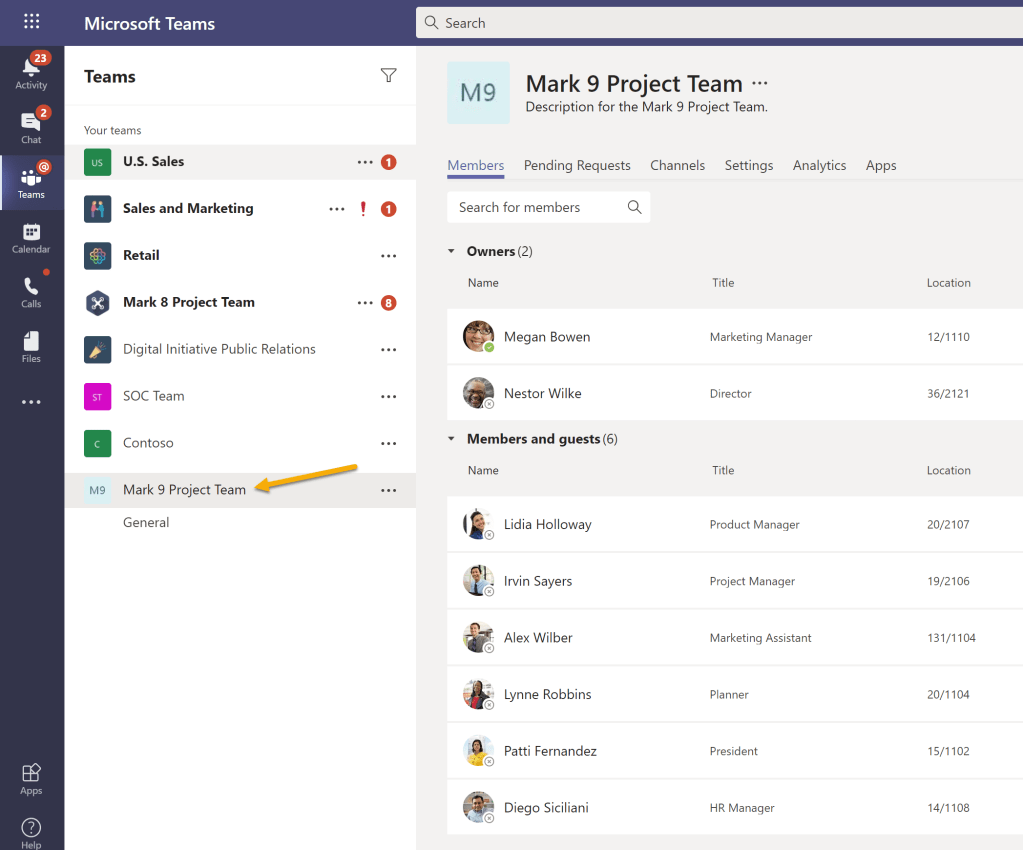
Test by creating a new entry in the Projects list. Give it a minute and check Teams.
The Project lists, shown here in Gallery view, includes a handy link to the team that can be used for onboarding documentation.

It’s been my experience that having a single centralized project listing is always valuable. Extending the listing to include Teams provisioning for project teams adds consistency for project owners, members and simplifies “admin” work for the PMO.
Thanks for reading.
NY

Reblogged this on El Bruno.
LikeLike
Thanks Bruno!
LikeLike
hello, I tried this, I thought I can use my email in the AAD ID field for the Add a Member to a Team action, but it wasn’t reconized. how did it work for you?
LikeLike
Hi Oliver,
I used the Owners Email value from the Owner column in Projects List. Let me know how you make out.
Thanks for reading!
NY
LikeLike
Very nice blog yoou have here
LikeLiked by 1 person