Custom List Templates are starting to roll out to Microsoft Lists. Templates allow organizations to extend their current List based solutions to a broader audience in an approved manner. Complete instructions can be found on the Creating custom list templates page. In this blog post I am going to walk through the experience of adding and deleting a custom Lists template.
Getting started
You will need Global admin or SharePoint admin permissions and the latest version of the SharePoint Online Management Shell module installed to complete these steps. All commands are executed via PowerShell.
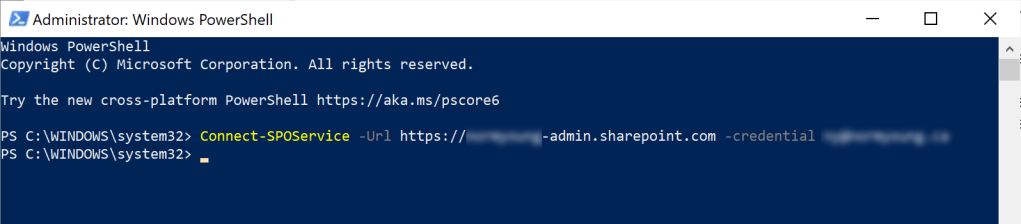
To get started with the SharePoint Online Management Shell:
- Run PowerShell as Administrator
- Execute:
Connect-SPOService -Url https://<tenant name>-admin.sharepoint.com -credential <admin account>
Add a custom template
To add a List template you have to get generate a Site Script for the source list; upload the Site Script; and finally create the List Design. Steps and comments are listed below. In my examples I am using a list called Projects.
- Generate the Site Script by executing:
$extracted = Get-SPOSiteScriptFromList -ListUrl "https://<tenant name>.sharepoint.com/<site path>/<site name>/Lists/Projects"

- To see the Site Script code execute:
$extracted
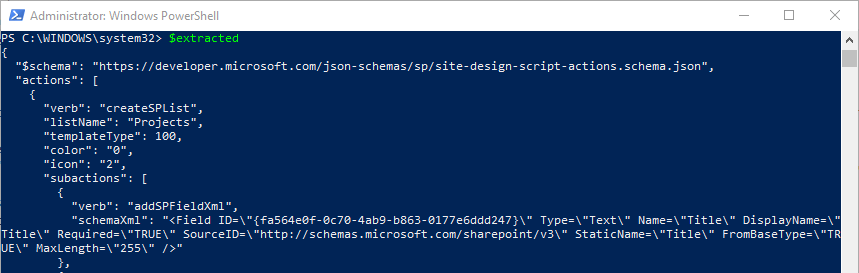
- Upload the Site Script by executing:
Add-SPOSiteScript -Title "Projects" -Description "This creates a project list" -Content $extracted
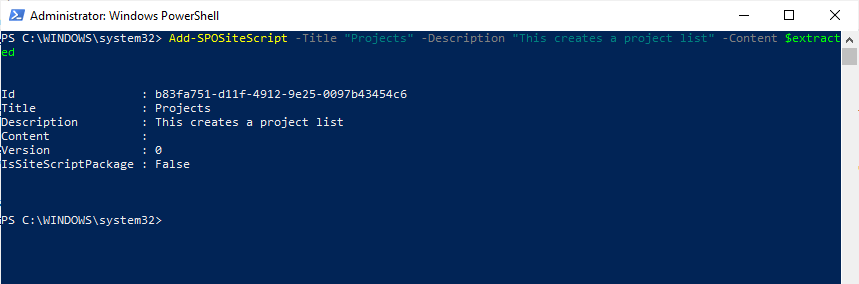
Take note of the Id. You will need it for next steps.
Note: If you did not copy the Site Script Id you can obtain it executing: Get-SPOSiteScript
- Create the List Design by executing:
Add-SPOListDesign -Title "Projects" -Description "This creates a project list" -SiteScripts "<Site Script ID>" -ListColor Red -ListIcon BullseyeTarget -Thumbnail "https://<tenant name>.sharepoint.com/SiteAssets/vibrant-red-light-trails.jpg"
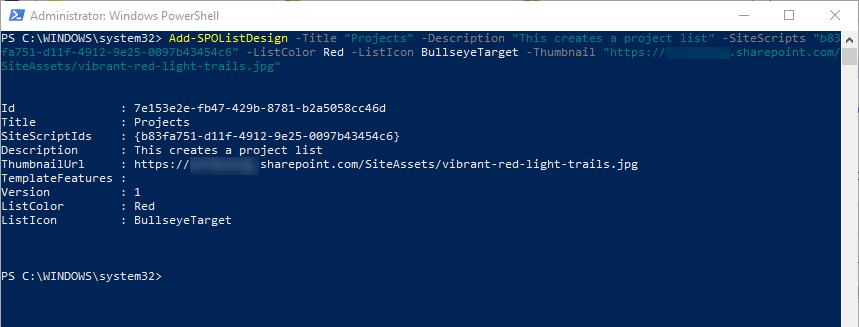
Note: The ListColor and ListIcon parameters are from the create list experience. See image below.
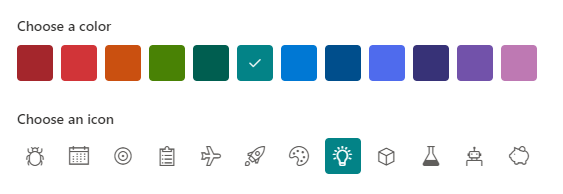
Note: The Thumbnail parameter can be any image that you want to be included in the list template. See image below.

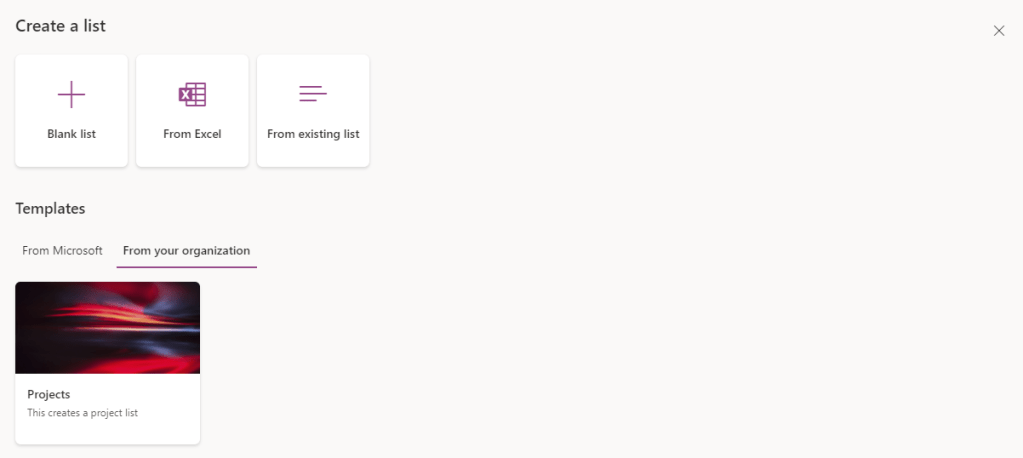
If all goes well, you should see your new List Template in the From your organization section of the Create a list screen.
Delete a custom template
To remove a List template you have to remove the List Design and then remove the Site Script. Steps and comments are listed below. In my examples I am using a list called Projects.
- Remove the List Design by executing:
Remove-SPOListDesign <List design ID>

Note: If you do not know the List Design Id you can obtain it by executing: Get-SPOListDesign
- Remove the Site Script by executing:
Remove-SPOSiteScript <Site script ID>

Note: If you do not know the Site Script Id you can obtain it by executing: Get-SPOSiteScript
Final thoughts
Creating organizationally-approved Custom List Templates is a great way to extend the value of one solution to others with similar needs. Will a List Template meet everyone needs? Probably not but giving users a well thought-out starting point brings value to them in a very quick manner. Starting small and evolving functionality as processes mature is always a safe bet. Lists are great for tracking processes and have numerous opportunities to add value through automation using List Rules and Power Automate.
Do you have a list design that you have used multiple times? If you answered yes, then it sounds like a good candidate for List Templates.
Let me know in the Comments if you do implement List Templates. I’d be curious to know what templates you created.
Thanks for reading!
NY

Helped me a lot, thanks 🙂
I have a question you might be able to answer:
If you enable custom-script on your site you get the option to “Save list as template” in List Settings (GUI), which will save a .stp file in http://sharepoint.com/sites//_catalogs/lt/
You can easily download and upload these .stp files (templates). Another advantage of these .stp files is they can also contain the list content.
But I haven’t been able to use them to creating new lists? They don’t show in the “From your organization” template repository.
LikeLike
Hi Brian,
List templates use the Site Scripts functionality. STP files will not work as far as I know.
Thanks for reading!
NY
LikeLike
I the mean time I actually found a way, although it’s a little legacy:
You can find the .stp template you create in the app gallery, but you have to select “classic experience” (there is a link in the app galary). From here you can easily create a new list from the .stp template, even with content if it contain it.
Haven’t found a way to do it in Powershell yet.
LikeLike